
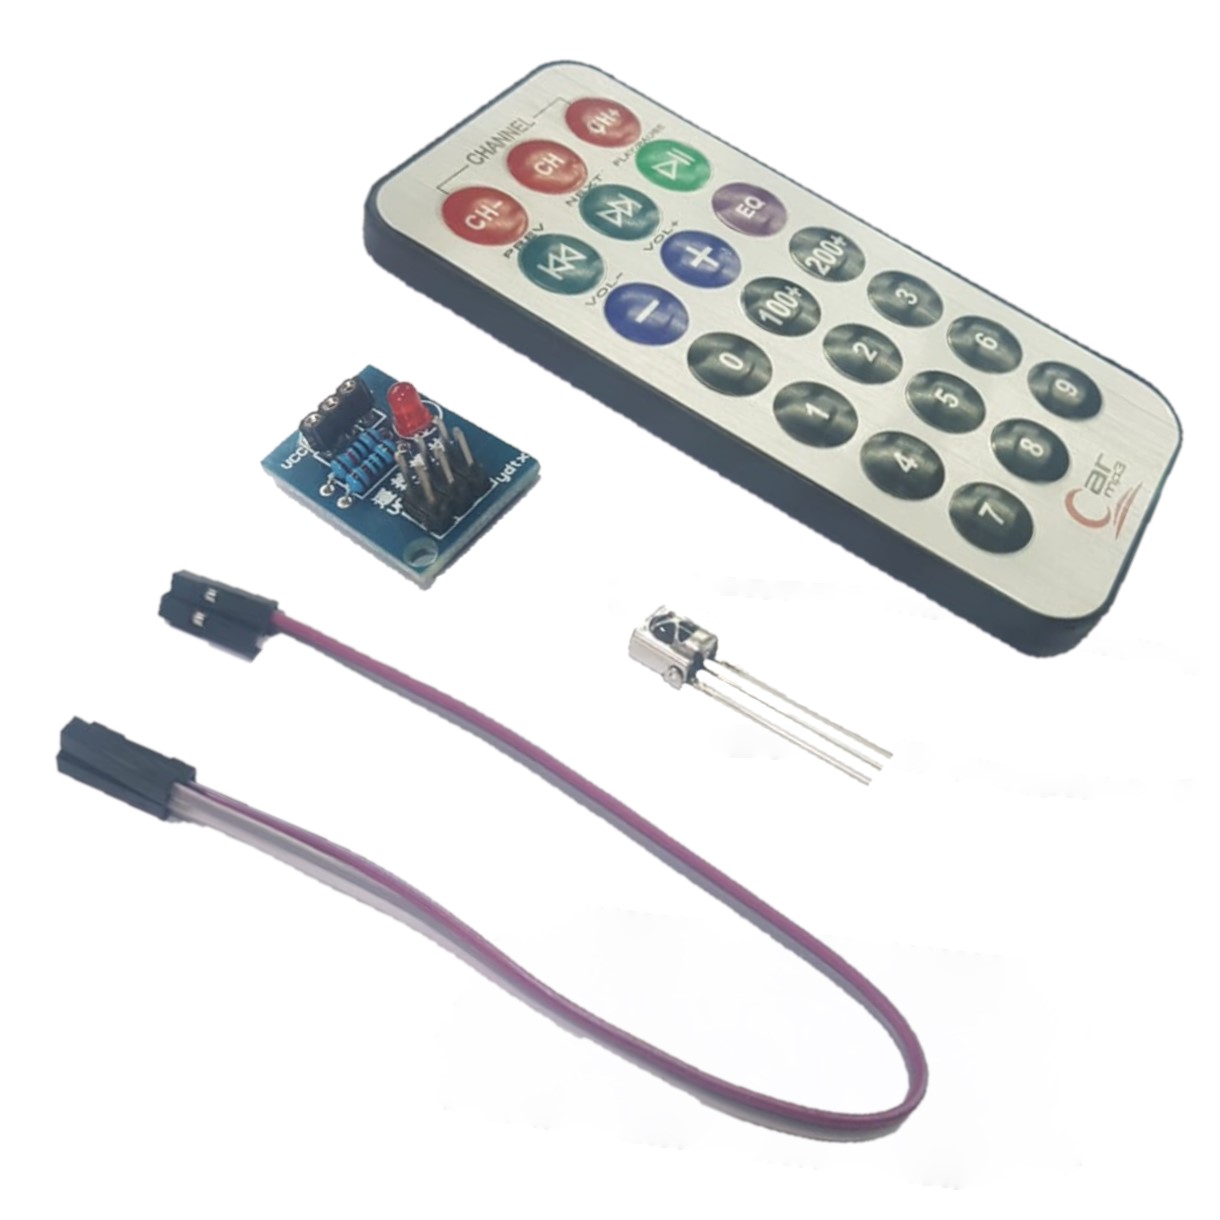
Kit Controle Remoto Ir + Receptor Ir Para Arduino Uno E Mega R 11,90
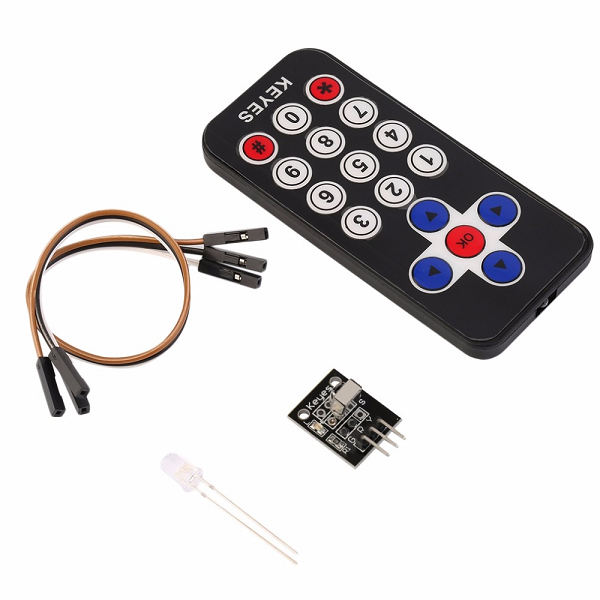
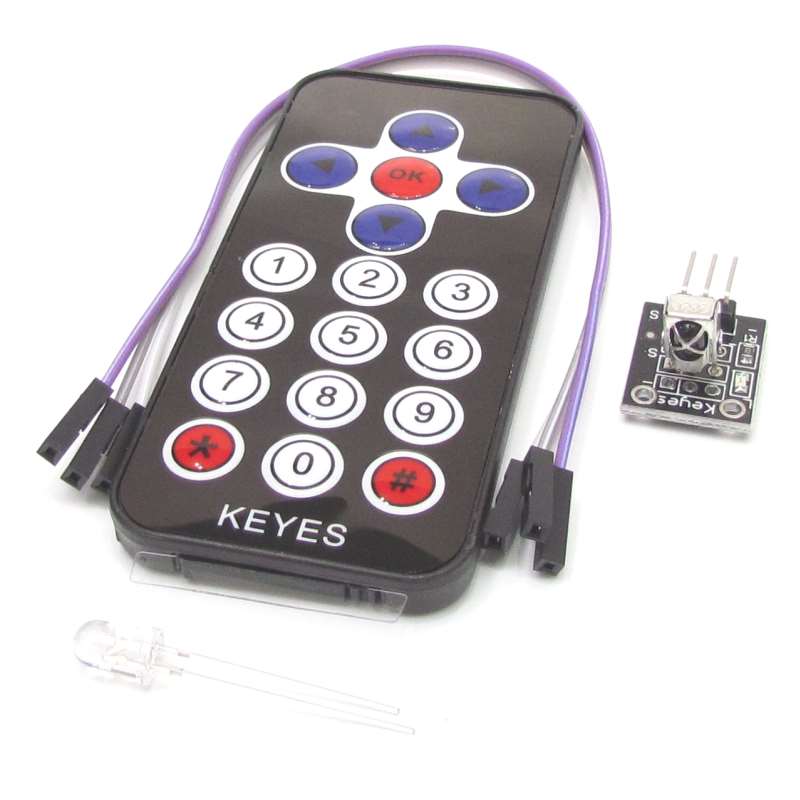
To make your own Arduino remote control, you need to first copy the IR code from an existing remote control using an IR receiver. To create our remote control we need to: Get the button code from the original remote. Make a remote-control program. Upload our program to the Arduino. We will use these components for our Arduino project:
Como usar com Arduino KIT Controle Remoto Infravermelho BLOG
Using an Arduino or other micro controller instead of the handheld transmitter to switch those devices on and off is the basis of many DIY 'home automatisation' projects.. Most of those remote control sets work o a frequency of 433.92 MHz (usually referred to just as '433 MHz'), some however work on 315 MHz, 868 MHz or 2.4GHz..
Aprenda como fazer um controle remoto diferente
Unzip ParcLib into the folder Documents\Arduino\libraries. Unzip ParcApp into your project folder and open the ParcApp.ino in the Arduino IDE. Attach the Parc remote control to your PC with the USB cable. In the IDE, select the board "Adafruit Feather 32u4" and select the COM port with the same label.

Controle Remoto IR para Arduíno e Outros por apenas R 12,90 Iphouse
en este video tutorial aprenderemos como manipular un sensor infrarrojo para captar las seÑales de un control remoto y activar un led. aquí les dejo el link.

Como usar com Arduino Controle Remoto Infravermelho BLOG
The code will make your Arduino essentially do the following: Look for incoming IR signals. Demodulate incoming signals into specific codes. Tell the specific codes to do certain commands (Like turning LEDs on and off) Below are downloadable versions of the code: IR_Receiver_1 (Zipped) IR_Receiver_2 (Zipped) You can add more devices to your.

Guia Completo do Controle Remoto IR + Receptor IR para Arduino Blog
Tutorial Arduino y control remoto Infrarrojo. 229763. En este tutorial usaremos un módulo sensor infrarrojo para recibir la señal de controles remotos IR que usan muchos de los equipos domésticos como TVs, equipos de sonidos, etc. A través de estos controlaremos las salidas de nuestro Arduino. Para este tutorial usaremos el siguiente sensor.
Kit Controle Remoto Ir + Receptor Ir Para Arduino Uno Tecnotronics
/* 4 push signal and one relay module 4 relay with Remote Turns on and off 4 relays connected to digital */ // Read RF remote button codes using the RM4 library and send them over serial. #include

Controle remoto no Arduino incrementando nosso placar eletrônico
Click Install all button to install the dependency. Copy the above code and open with Arduino IDE. Click Upload button on Arduino IDE to upload code to Arduino. Press keys on the remote controller one by one. See the result on Serial Monitor. The below is the result when you press keys on 21-key IR controller one by one:

Kit Controle Remoto Ir + Código Arduino R 16,90 no MercadoLivre
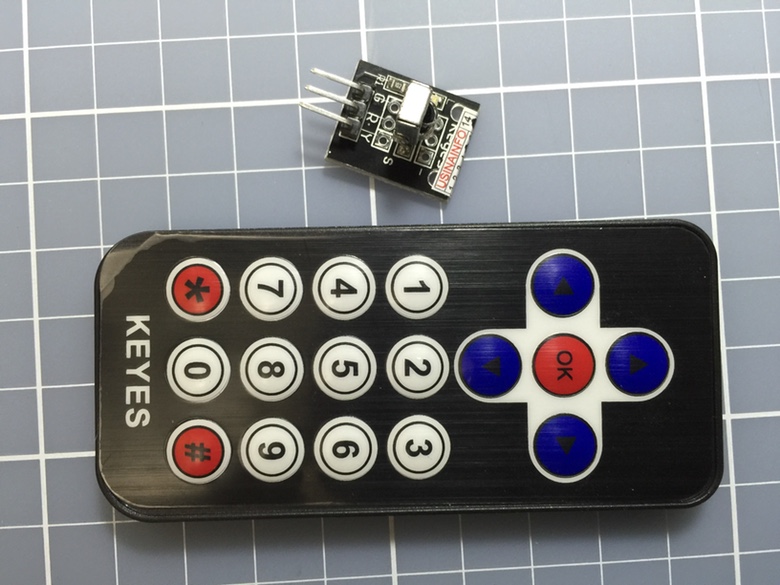
First of all you need to know the control codes of your remote control. Connect only the IR sensor and run his code. Open the Serial Monitor and point the remote control to the receiver. Press the buttons and the respective codes will appear. Sometimes the code 0xffffffff can appear because you have pressed the button for too long.

Como usar com Arduino KIT Controle Remoto Infravermelho BLOG
Image via [thang010146] on YouTube. Like many of these builds, it all started with an ordinary coffee table from the hacker's favorite furnitüre store. [NewsonsElectronics] opened it up and.

Como usar o controle remoto IR com Arduino Intermediário I13 YouTube
How to convert old MSB first 32 bit IR data codes to new LSB first 32 bit IR data codes. For the new decoders for NEC, Panasonic, Sony, Samsung and JVC, the result IrReceiver.decodedIRData.decodedRawData is now LSB-first, as the definition of these protocols suggests! To convert one into the other, you must reverse the byte/nibble positions and then reverse all bit positions of each byte.
Controle remoto no Arduino incrementando nosso placar eletrônico
I recently needed to use the Arduino to control a stereo system, so rather than hack open the remote and wire into it, I decided to simply clone the signal. This was incredibly easy to do. Basically, I read the signal from the remote with a 38khz receiver, and then played it back with an IR LED. To start, I went to the IR Sensor Tutorial on.

Kit Controle Remoto Ir + Receptor + Cabos Para Arduino E Pic R 19,45
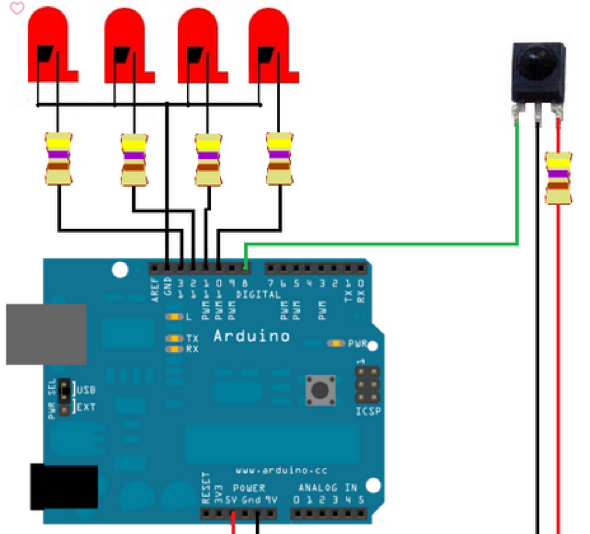
Step 4: Build the Receiver Arduino Circuit. This is a proxy for your robot, car, quad, etc. The basic circuit contains three LED's two that dim from the potentiometer controls and one that either on or off via the button. The resistors for these LED's should be a lower value. 330 Ohms is a good choice.
Kit Controle Remoto Ir + Receptor Ir Para Arduino Uno Tecnotronics
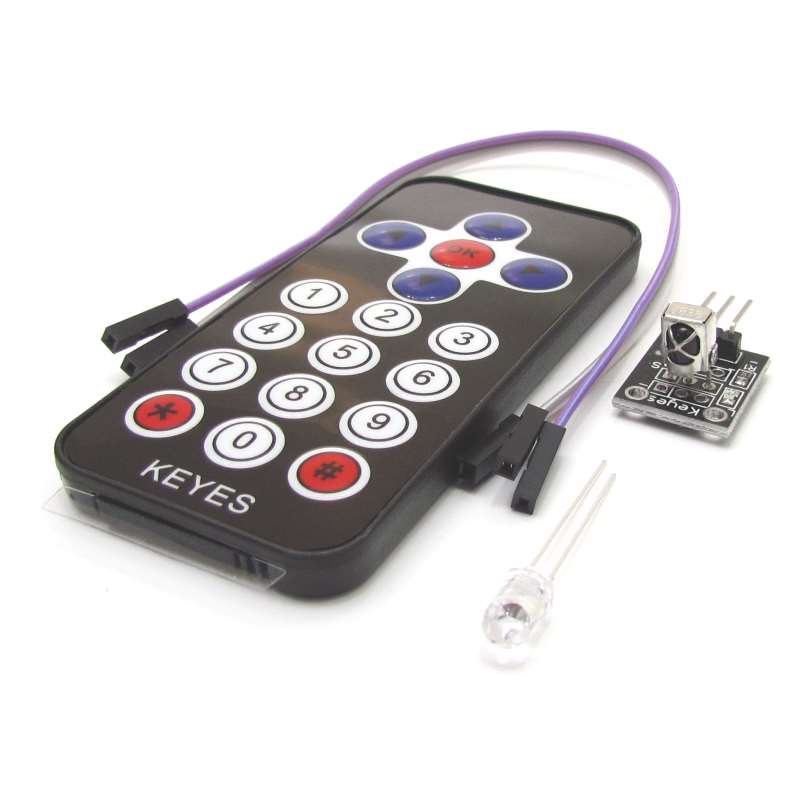
The circuit. HX1838 VS1838 infrared receiver connected to the Arduino. Push the HX1838 VS1838 into the breadboard and connect the following jumper wires to: The GND on the Arduino -> the left pin of the sensor. The 5V on the Arduino -> the middle pin of the sensor. The 12 on the Arduino -> the right pin of the sensor.

Como fazer um controle remoto de TV com arduino
Você sabia que é possível usar QUALQUER CONTROLE REMOTO infravermelho com o Arduino? É exatamente isso que ensino neste vídeo, você vai aprender a identifica.
Kit Controle Remoto Ir + Receptor Ir Para Arduino Uno Tecnotronics
Move the rc_switch folder to your Arduino IDE installation libraries folder; Then, re-open your Arduino IDE; Opening the Decoder Sketch. You need to decode the signals that your remote control sends, so that the Arduino or ESP8266 can reproduce those signals and ultimately control the outlets. The library comes with several sketch examples.